Quick answer
Treat the opening as one complete loop: clear the yard, build a chest and table, craft the broken sword, take a low-risk dungeon run, extract at the first teleport, store the haul, then place one item on the table and learn the market signals. The goal is a safe first sale, not the deepest possible floor.
1. Finish the yard tutorial
Collect the loose wood, stone and other resources around the shop. Use them to build the first chest and table, then craft the broken sword. Keep the chest as your safety boundary: items stored there are not part of the risky expedition inventory.
2. Clear dungeon floor one
The first floor teaches the core combat and loot rules:
- Break crates, chains and other breakable objects. Steam Community dungeon guidance identifies wood, stone, iron and healing potions among the useful results.
- Leave room to dodge red enemy attacks and do not spend every healing item on a minor encounter.
- Open chests and pick up glowing resources; inventory space and health matter more than clearing every corner.
- At the teleport, return home when the haul already solves your next upgrade. Choosing to continue is a deliberate risk.
3. Understand the teleport choice
At a completed floor you can return safely, take a good prayer for a positive boon, take a wicked prayer for a stronger boon with a downside, or press deeper for more loot. If you die before reaching the next teleport, the unbanked inventory is lost.
4. Secure the haul and sell once
After returning, put materials in the chest. To sell, take an item to the table, drag it onto the display, and set a quantity and price — if the price text turns red, you are above the acceptable range, so lower it until the warning clears. Customers now drop their gold on the counter by themselves, and a single interaction completes the sale. A customer reaction gives a useful first signal:
| Reaction | Meaning | Adjustment |
|---|---|---|
| Red / angry | Price is too high | Lower it or wait for a better demand state |
| Yellow / content | Price is acceptable | Keep it while learning the market |
| Green / very happy | Price is probably too low | Test a slightly higher price |
The market arrow next to an item indicates demand: green is high, yellow is average and red is low. Use the purchase history through Tab to compare sales, demand and prestige effects over time. Source: Steam Community shop guidance.
5. Restock from the forest
The forest outside the shop is a second source of basic resources. Gather wood, stone, leather and mushrooms, watch for goblin groups, and check signposts when weather or a forest event changes. The forest regrows after an event changes, so it can be a safer restock route when the dungeon risk is not worth it.
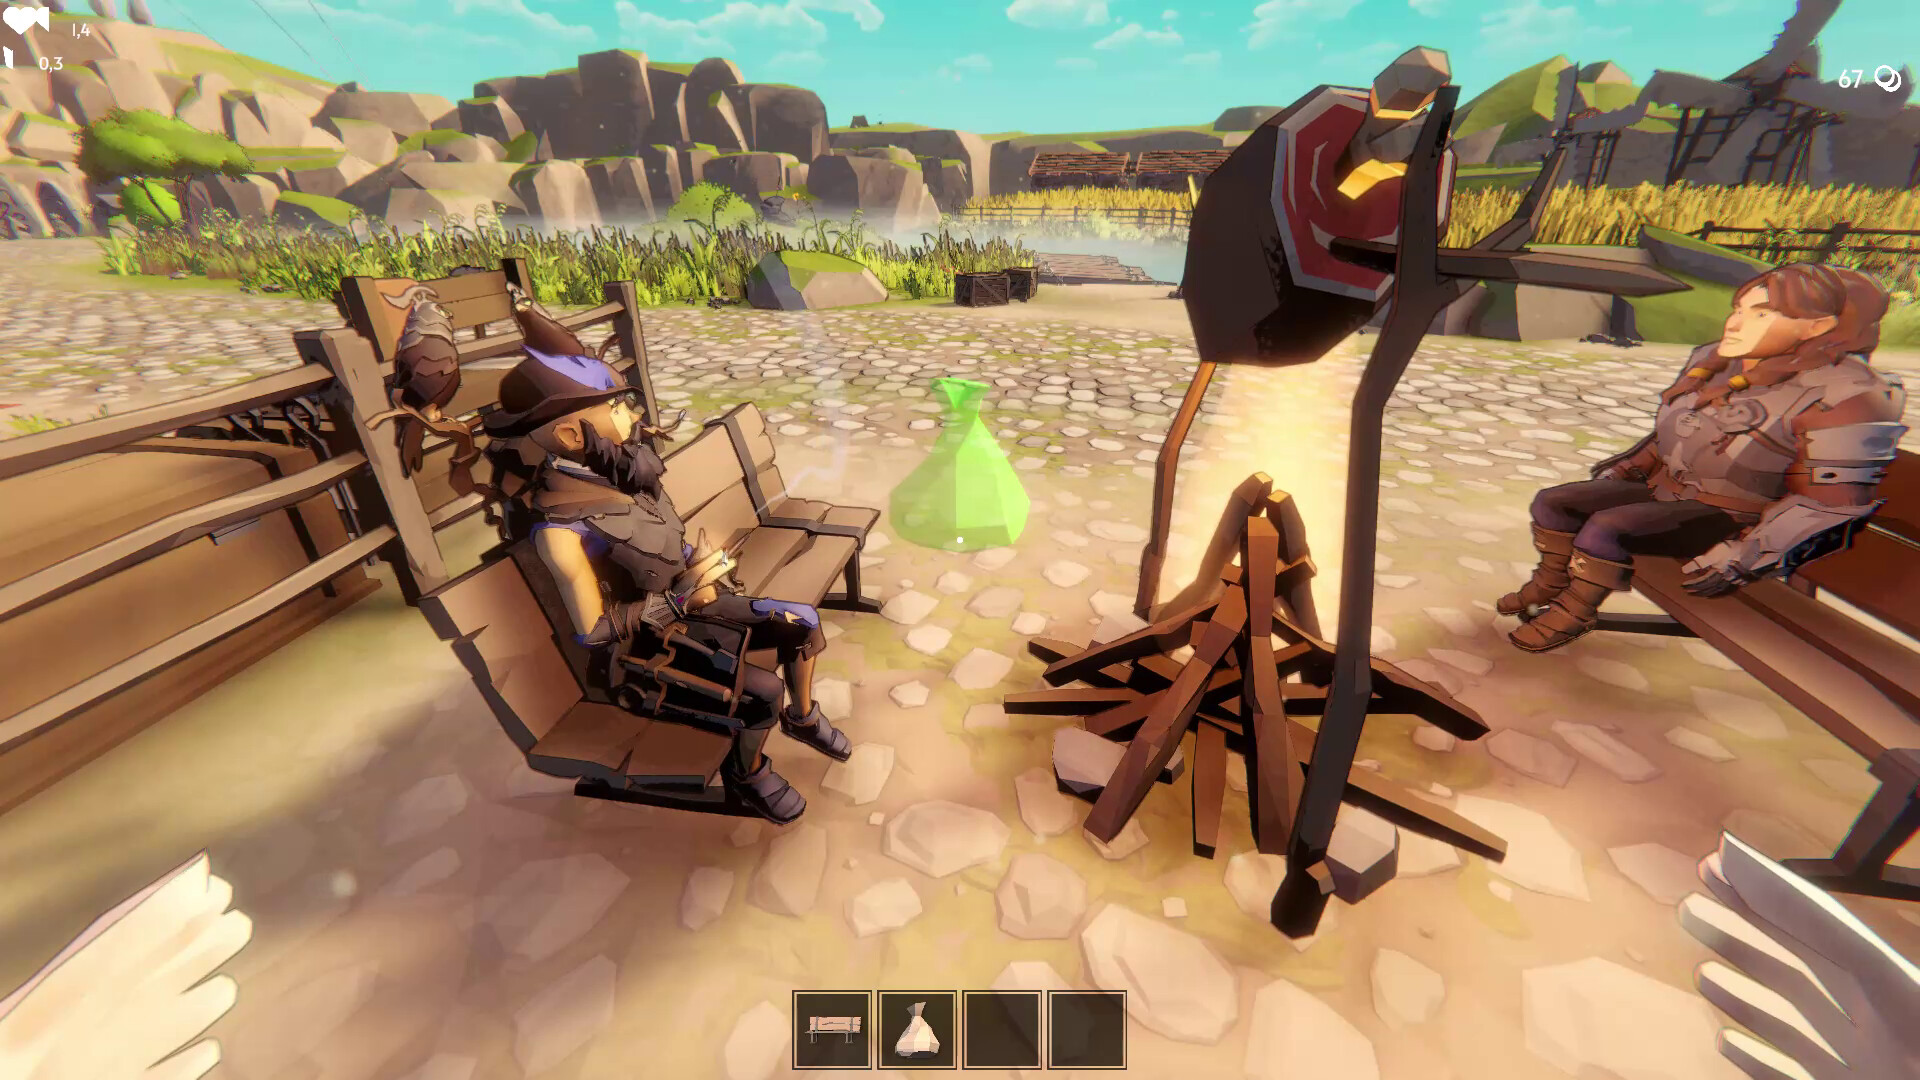
Image for reference only; it does not depict the specific content covered in this article.
First-run checklist
- Chest, table and broken sword are built.
- At least one dungeon teleport has been reached.
- The first haul is stored before a deeper attempt.
- One item has been priced and sold.
- The next upgrade or quest-board objective is clear.
Current navigation and inventory helpers
The live post-launch updates add a dungeon minimap, a full map opened with \ and one-press inventory sorting. Use them to plan the route and organize a haul, but keep the survival rule unchanged: map knowledge does not protect unbanked loot. The controls and support guide lists the current, sourced behavior.
Sources and scope
Official mechanics are from the Steam store page. The Steam Community Guides hub is the live player-reference index, and the official update feed records current navigation and save changes. Exact prices, customer thresholds and default bindings remain build- and market-dependent.
Was this guide helpful?
Let us know if we can improve this guide.